

If you run a landscaping business and want to build your own website, don’t begin with colors or a homepage layout. Begin with the questions a potential customer will ask: Do you provide the service they need? Do you work in their area? What does your finished work look like? How can they request a quote?
WordPress lets you turn those answers into service pages, a project gallery and a quote form without building everything from scratch. This guide takes you through the complete process, from collecting your business information and choosing a theme to preparing project photos and checking the website before launch.
Collect the business information first
Start with the work the website should bring in. Complete garden redesigns, weekly lawn care and commercial grounds maintenance may all fall under landscaping, but customers do not shop for them in the same way.
Pick the work you want enquiries for and note the towns you cover. Garden designers can send visitors to a site-visit form. Maintenance companies may want the phone number to be the main action.
Then collect the material needed to build the pages:
- Company name, telephone number, email address and working hours
- Main services and service area
- Project photos, preferably including before-and-after photos
- Customer reviews you have permission to use
- Team photos and relevant qualifications
- The questions needed to assess a new enquiry
Website projects often slow down when the page layouts are ready but the photos and business details are still missing. A template cannot decide which patio project to feature or whether you work outside Bristol. Gather that material before filling the pages with placeholder content that must be replaced later.
Publish the projects you have now, starting with the ones that look most like the work you want next. Add new jobs after launch.
Set up your domain, hosting and WordPress
Choose a domain that is easy to spell and say over the phone. The company name is normally the best option. Most hosting companies let you register the domain and buy hosting from the same account, although you can use separate providers if you prefer.
A standard hosting package with a one-click WordPress installer is usually enough for a straightforward landscaping website. Check that the plan includes HTTPS, reliable support and a way to restore a backup.
Managed WordPress hosting costs more because the host handles more of the technical work. Depending on the plan, this can include automatic backups, WordPress updates, caching, security monitoring and a staging site. Check exactly what is included and how you can restore the website when something goes wrong.
Create the WordPress installation from your hosting account, connect the domain and enable HTTPS. Your host will provide a link to log in when the installation is ready. You can normally return to the WordPress dashboard at yourdomain.com/wp-admin.
Log in to the WordPress dashboard and complete the basic setup:
- Open Settings → General and add the site title, administration email and correct timezone.
- Open Settings → Permalinks and select Post name.
- Remove the sample page, post and comment.
- Delete plugins and themes you do not plan to use.
Under Settings → Reading, leave “Discourage search engines from indexing this site” selected while the demo content is online. Clear that setting before launch.
Install only the plugins the website needs. Install a form plugin and an SEO plugin, then add backups or caching only when the hosting plan does not already provide them.
Choose a WordPress theme
I recommend a simple theme built for landscaping businesses. You do not need a multipurpose theme with 30 demos when the site only needs to present the company, its services and completed work.
Large themes often bundle templates, settings and plugin integrations you will never use. That can mean more setup work, more dependencies and more parts of the site to check after an update. Running a WordPress website should not involve working around features that were added for completely different businesses.
Look for one well-designed demo with a useful homepage, individual service pages, project layouts, a quote form and a contact page. Open those pages before buying and check how they are edited, which plugins they require and whether the demo can be imported without rebuilding the layouts you need.
Build a service page and a project page before the homepage
Start with one important service page. Explain what the service includes, show relevant work and add a clear way to request a quote. Use its headings, image sizes and buttons as the pattern for the other service pages.

Then build one project page. Show what the customer wanted, the work completed, the materials used and the location. Mention practical details such as restricted access, drainage or a sloping site when they affected the job.
Build the homepage after these pages are ready. You can feature real projects and link its buttons to finished service pages instead of creating temporary sections that need to be replaced later.
A landscaping website will normally also need About and contact or quote pages. The guide to what pages a landscaping business website needs covers the complete page list.
Choose and prepare project photos
Choose photos that explain the job rather than uploading every shot you took. Start with one wide view of the finished garden, then add close-ups of paving, planting or construction details. Take before-and-after photos from the same position when possible.
Check every background for faces, house numbers and vehicle registrations. Ask the customer for permission before publishing photos of their property.
Resize and compress images before uploading them. Rename the files as well: sandstone-patio-bath.jpg is easier to find in the Media Library than IMG_8472.jpg. Write alt text that describes what each image shows without repeating the service and town in every description.
Use project photos on the relevant service page as well as in the gallery. A paving page can show a completed patio with its customer review directly below it. The guide to getting more landscaping reviews explains when to ask and how to send customers a direct review link.
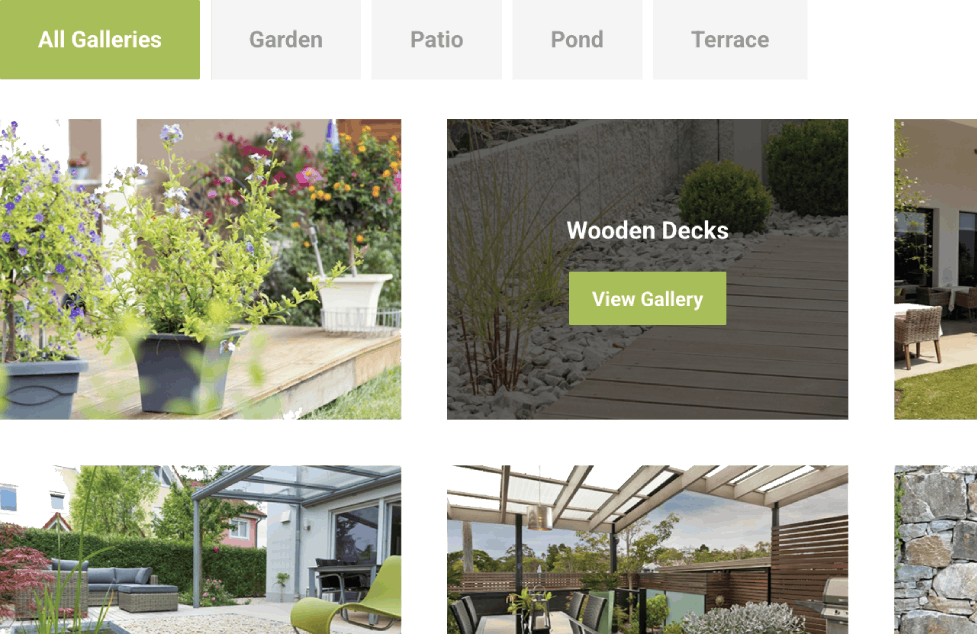
Group projects by the type of work, such as Patios and Paving, Garden Redesigns, Planting or Decking. Create a category only when you have at least two projects to show. Otherwise, keep them in the main gallery.
Make the quote process work on a phone
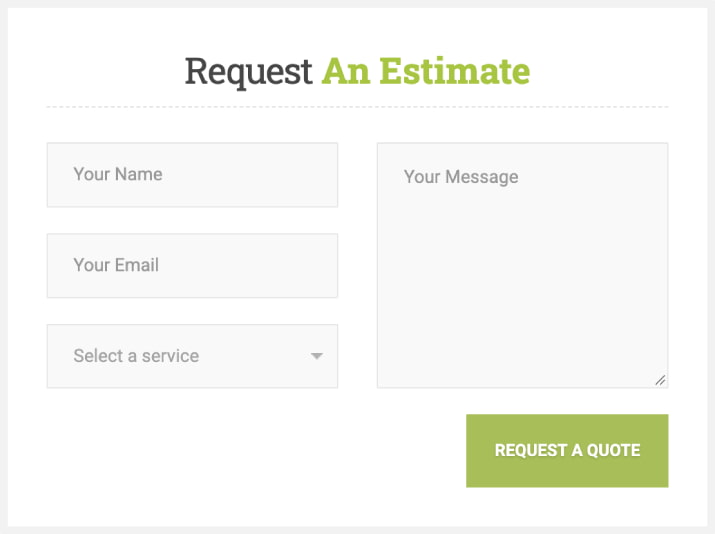
Keep the quote form short enough to complete on a phone. Ask for the customer’s name, contact details, postcode, required service, preferred timescale and a description of the work. Add a budget field or image upload only when the company uses that information to assess an enquiry.
Tell the customer what happens after submission. A note such as “We normally reply within two working days” is more useful than a generic confirmation message.
Test an empty required field, an invalid email address and a valid submission. Confirm that the notification arrives and that pressing Reply addresses the customer. On the same phone, open the menu, filter the project gallery and tap the telephone number.
Add useful local information
List the main service area on the homepage and contact page. Mention a town on a service or project page when the content supports it, such as a patio project completed in Bath.
Do not copy the same service page for every town. Create a separate location page when you can include local projects, customer reviews, travel limits or services that are particularly relevant there.
Keep the company name, telephone number and working hours consistent with the Google Business Profile. If the profile displays a public business address, use the same address on the website. A service-area business that hides its home address should not publish it only for SEO.
Build the website with The Landscaper theme
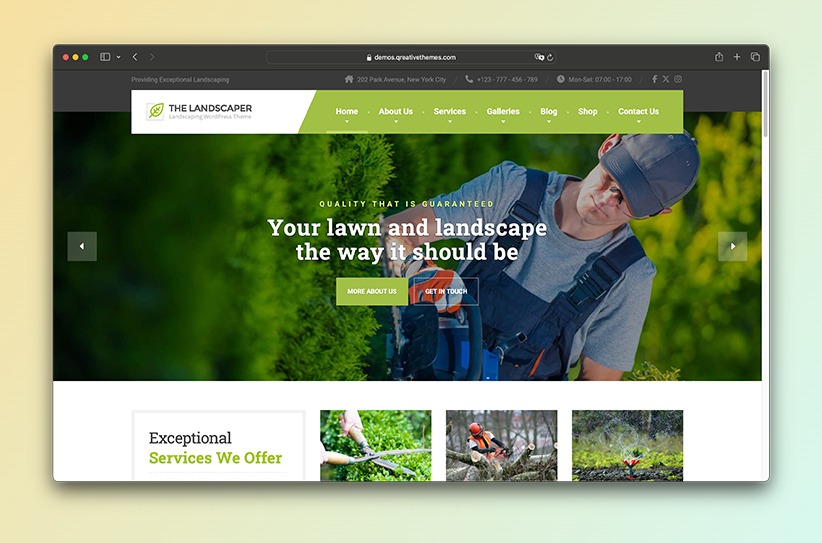
If you want to build the website described in this guide without starting with blank pages, The Landscaper gives you one complete demo designed for landscaping businesses.
The theme has more than 4,700 sales, a 4.83 out of 5 customer rating on ThemeForest and a record of regular updates since its release.
The demo includes a homepage, service pages, project layouts, an about page, a contact page and an estimate-request form. Import the demo with one click, then replace the example content with your services, completed projects and contact details.
Made for Landscaping Business Websites
Show your services and completed projects, and give
customers a simple way to request an estimate.
Check the website before launch
Search the website for the demo company name, address and telephone number. Check pages that are not linked from the main navigation as well as the header, footer and mobile menu.
- Submit every form and confirm that each message reaches the correct email address.
- Tap the main buttons, telephone numbers and email links.
- Open the main pages using mobile data and check that the images load at a reasonable speed.
- Install pending WordPress, theme and plugin updates, then confirm that a recent backup is available.
- Open Settings → Reading and clear “Discourage search engines from indexing this site” so search engines can index the website.
After launch, keep WordPress, the theme and plugins updated, and confirm that backups continue to run. Add projects that reflect the work the company wants to win. For a landscaping business, a useful project page is usually more valuable than a blog post published only to keep a schedule.