Optimize your images before uploading them to WordPress have a huge impact on the loading speed and page scores of your website. Many beginners will upload images directly to their website without optimizing them and this will make your website slower. Image optimization is a must if you care about the performance and SEO of your website.
What is image optimization?
Image optimization means that you reduce the file size of the image without reducing the overall image quality. I won’t go in on the technical side because the process of compressing an image is very easy. There are two ways possible of compressing your images, by using an online tool or installing a WordPress plugin. Compressing an image can save file size up to 80%
What are the benefits of image optimization?
There are several benefits about optimizing your images, these are:
- Improve your page loading speed (lighter pages loads faster)
- Higher rank on search results (faster page loading are ranked higher)
- Use less bandwidth
- Require less storage on your server (saves your money)
How to resize my images?
Before using a compression tool it is important to have your images scaled to the correct dimensions. Within our WordPress themes we add the dimensions to every placeholder image so you can easily see what the size of an image should be.
Resizing an image is possible with any popular image editor software like Photoshop for example but there are also online tools available like Picresize
Compressing images without plugin
Before uploading your images to WordPress you can upload them to online tools like Compressor, TinyJPG and Compress JPEG. After the images are compressed you can download them and upload them to your website.
Lets take TinyJPG for example:
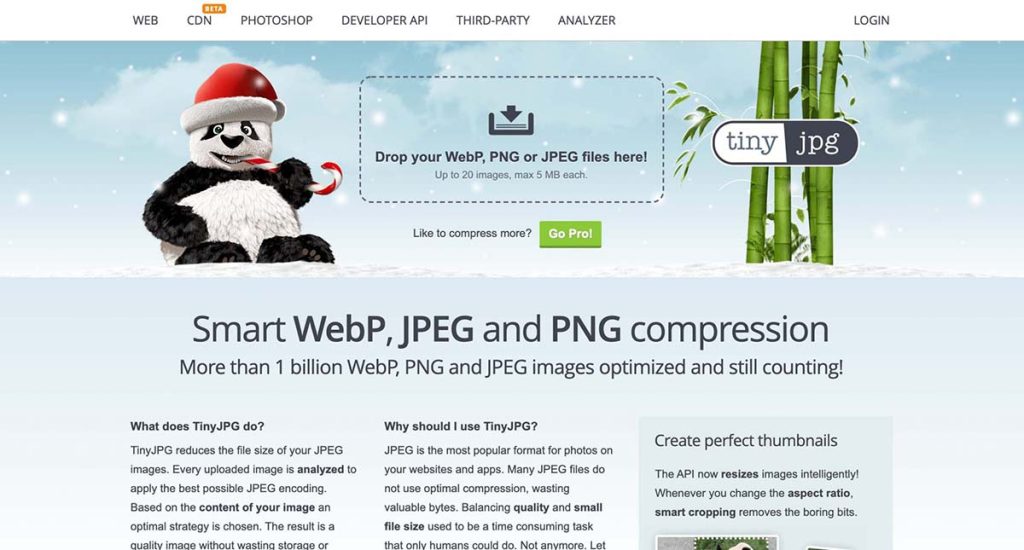
You can drag and drop your images to the area that say “Drop your WebP, PNG or JPEG files here!”
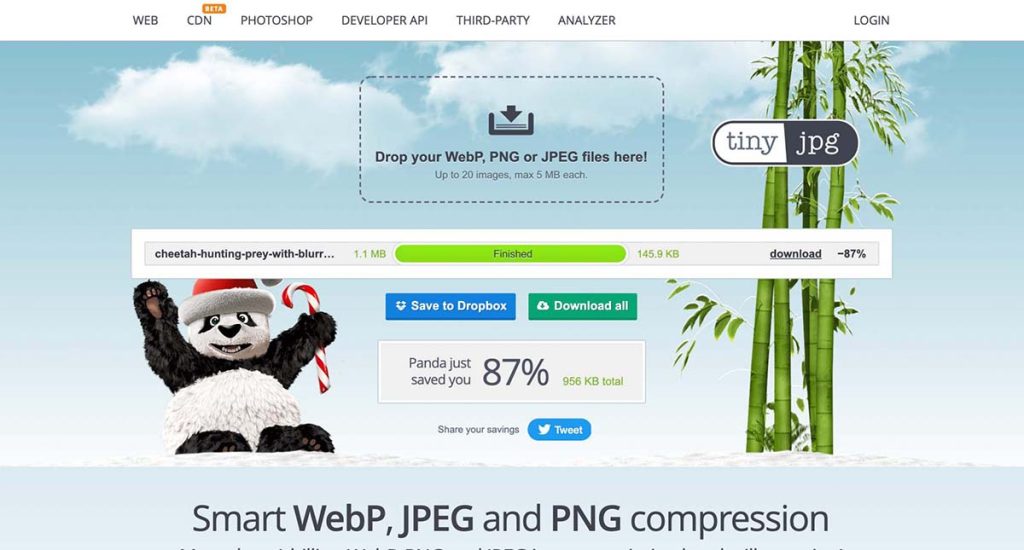
After the compression has finished you can download the image. In above example you see that the file size of the image has reduced from 1.1 MB to 145.9 KB which is a reduction of 87%, without loosing the quality of the image. Not every image you compress will be reduced to such numbers but it is important to use image compression.
Compressing images with plugin
Although we recommend to use one of the above online tools for image compression you can also choose to install a plugin for it it. Popular image compression plugins are:
- Optimole
- Imagify
- Smush Image Compression and Optimization
- EWWW Image Optimizer
- ShortPixel Image Optimizer
- Compress JPEG & PNG images by TinyPNG
Each plugin has their own interface so the best option is to look on the plugin page by clicking the link above to see the steps. I’ll point out the configuration for the Smush plugin because that is the most installed image compression plugin. You can install the plugin by following these steps:
- Go to the “Plugins → Add New”
- At the search field enter “Smush”
- Press the “Install Now” button and wait
- When the “Activate” button shows up click that button
Then go to to “Smush” admin tab to access and proceed with the installation wizard. You don’t have to change any of the default settings.
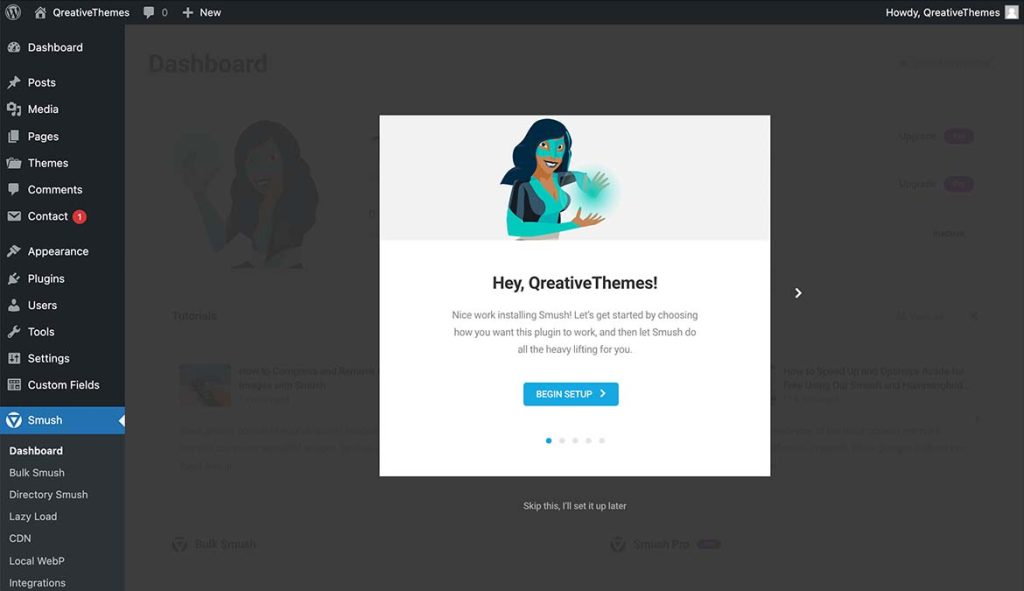
After you gone through the installation steps simply click on the “Bulk smush now” button to start the image optimization.
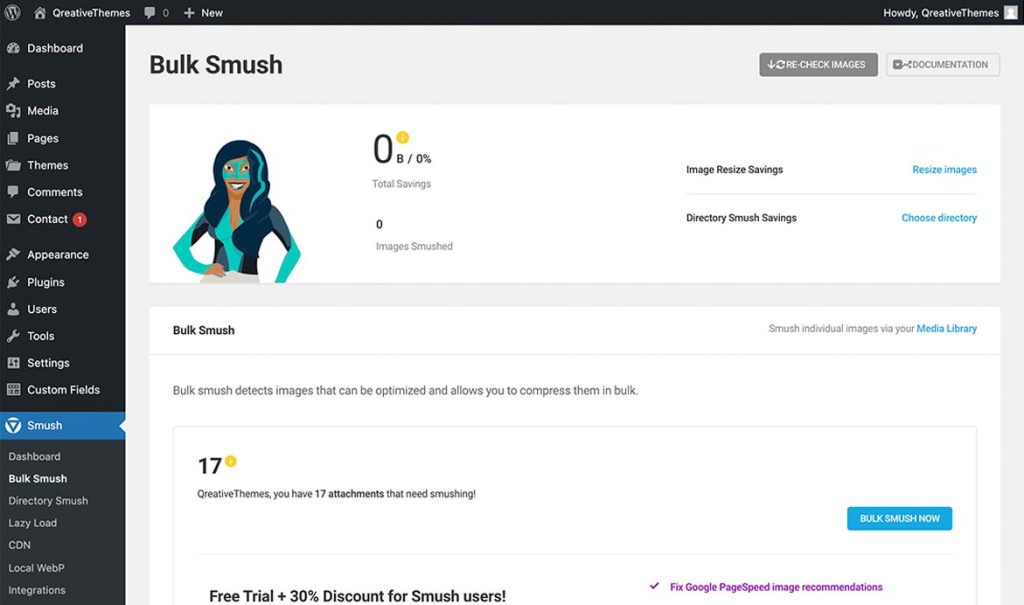
Now wait till the process has been finished. When you have a lot of images on your website you can get yourself a cup of coffee because it could take a while to complete.
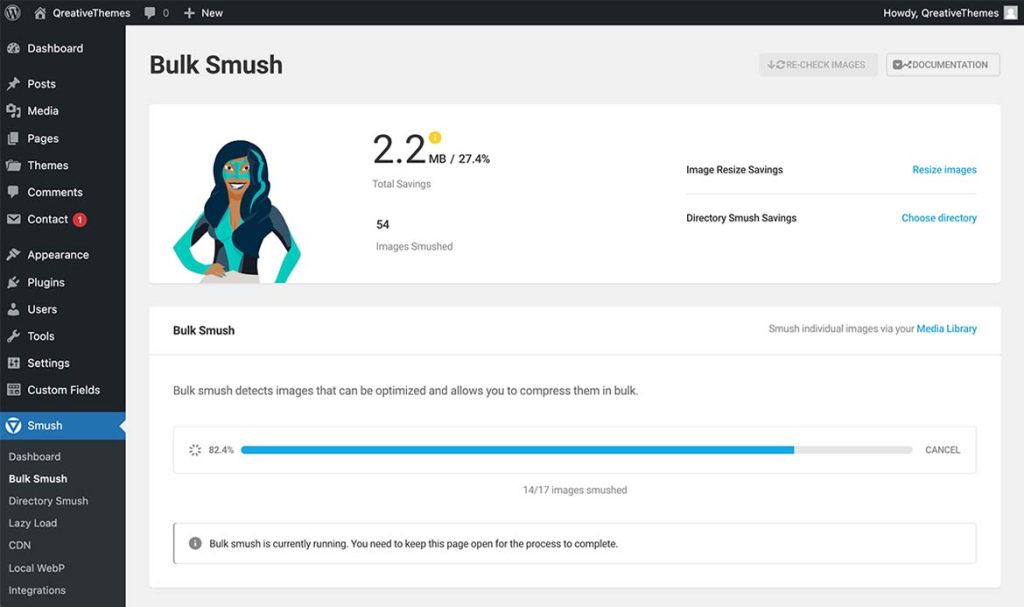
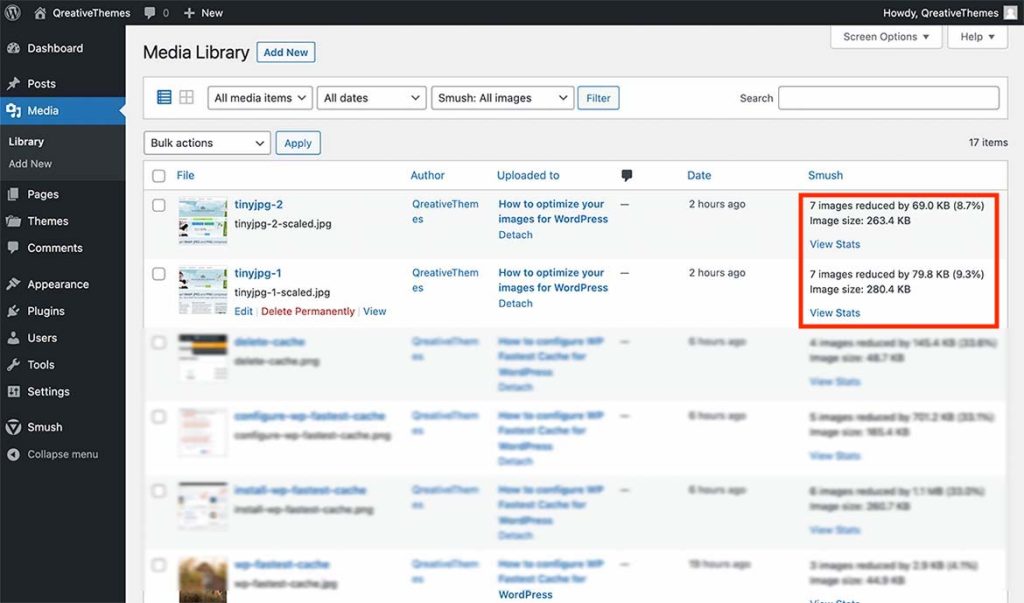
When the process has finished all your images are compressed. The result of the file size reductions can be seen within the “Media” admin tab.
So that’s it, that is how you compress your images for your WordPress website. We didn’t go in-depth (on purpose) about the technical side how compressing works or what is actually does to your images because we don’t think that is important for the majority of people. We just want to point out how you can compress images yourself without making things complicated.
